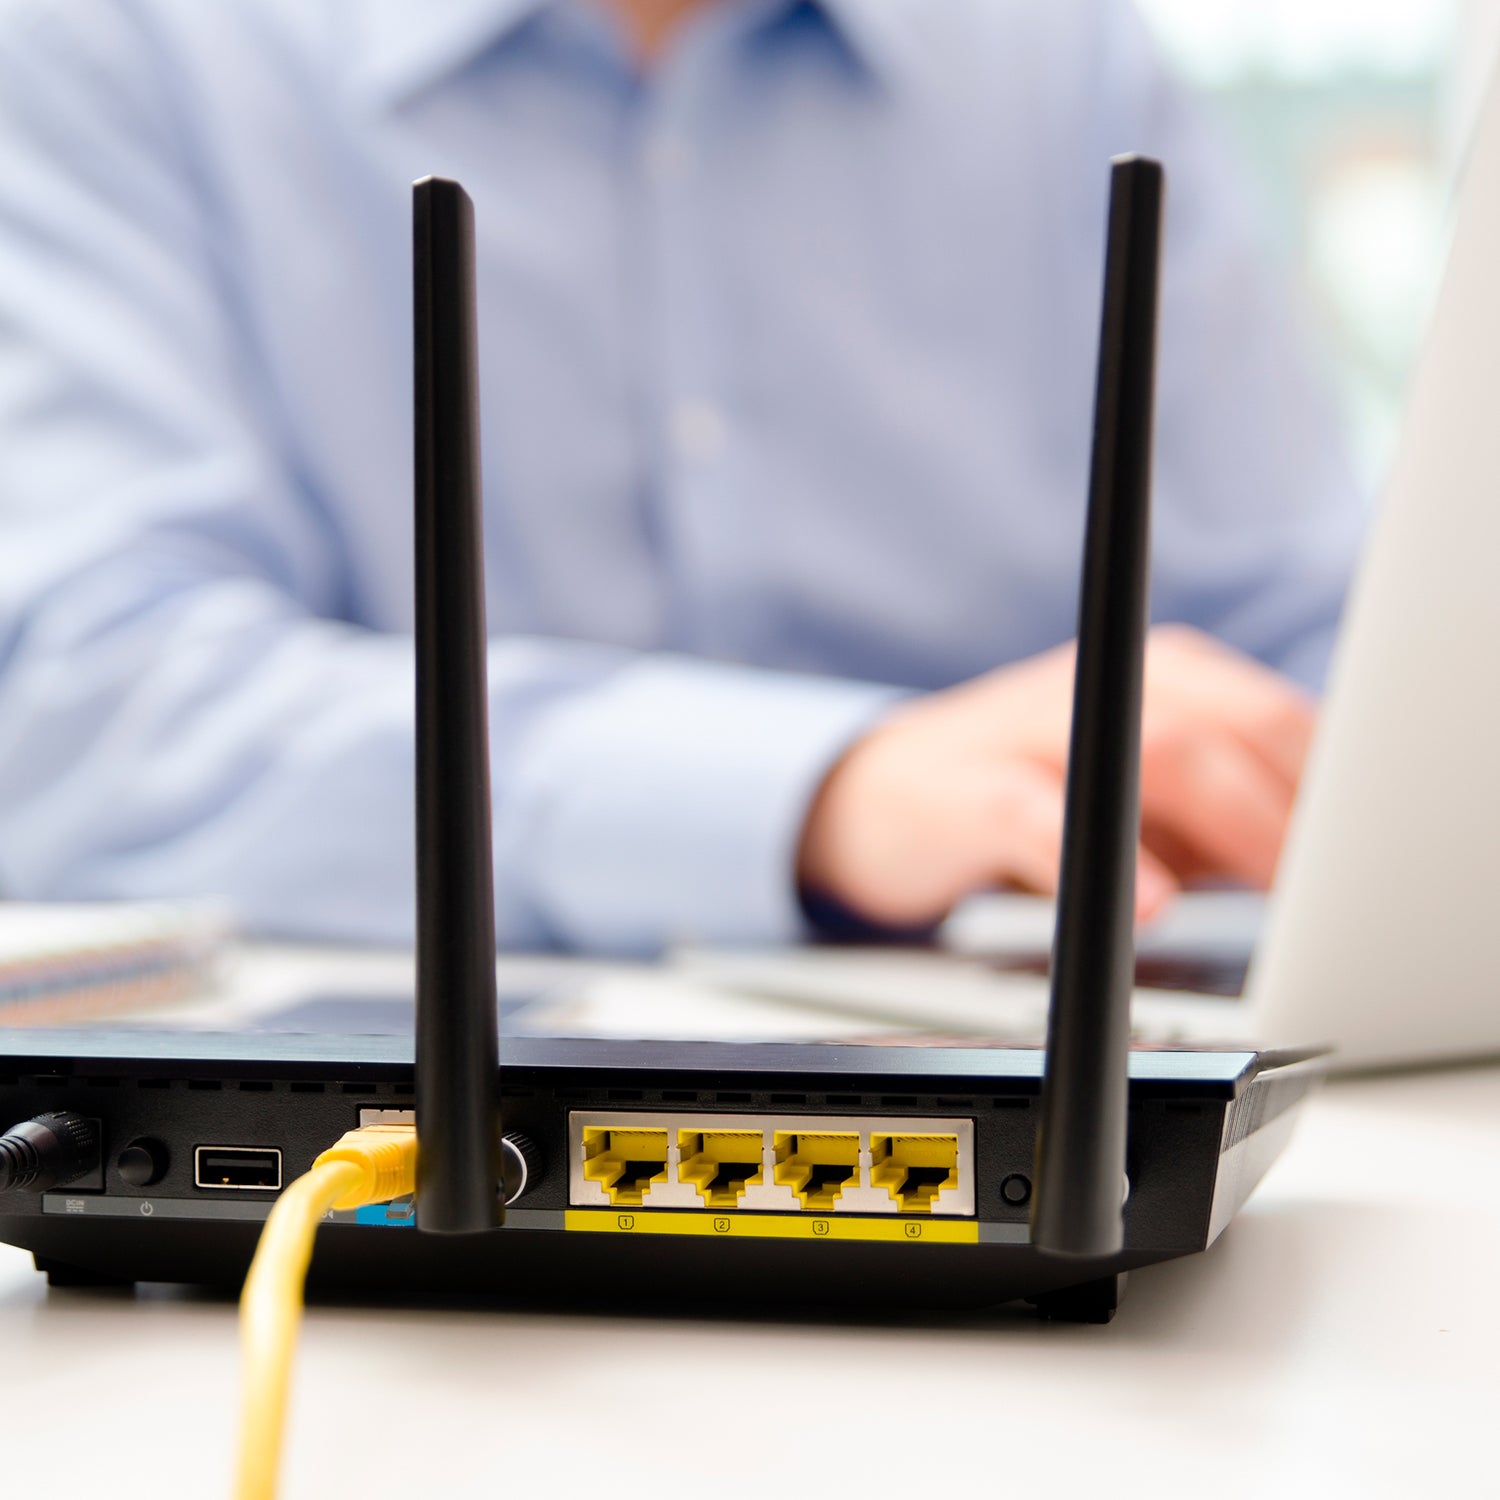
Overview
Planning
Before you buy anything, begin by planning out your installation. With more internet connected smart devices becoming common these days it will save you time an money to plan ahead to future proof your network. There are wired networks, wireless networks or hybrid networks with each having their own pros and cons.
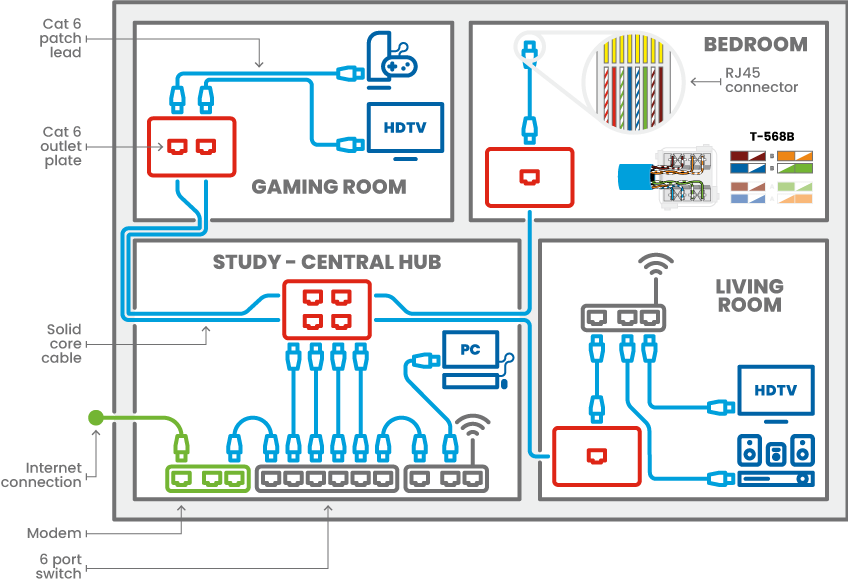
Plan your home network
We would recommend a combination of wireless and gigabit Ethernet. This can be achieved using a wireless router with an integrated gigabit router (typically 4 port Ethernet router) or if more ports required, a combination of Ethernet switch (4 ports, 8 ports or more) plus in addition to a wireless router. This can be used as your main hub, and expanded (if required) by connecting further ethernet routers to achieve the number of ports required for your setup.
Further plan your installation method, think about the following:
- Study (8 × data points) – central hub
- Living room (4 × data points) or small 4 port Ethernet switch?
- Bedrooms (1 × data point each)
- Other – Al Fresco, Dining, Kitchen, etc.
Benefits of a Wired Network
Amount of Cable Required
Hint: A cable tester can be handy at times to test that your wiring is correctly
and securely terminated at each end. Do not forget to purchase the router equipment from your local computer hardware outlet.
Installation Steps
Step 1
Once you have bought the equipment you need for your installation, you can begin by marking out the position of your wall plates, make sure they are nowhere near power outlets, our anything electrical, apart from being dangerous, you do not want to install cables near to any power outlets or power cables.
Step 2
Great care should be taken here. Steer clear of anything electrical, all power should be turned off at the switchboard before any work is attempted. If in any doubt whatsoever, call a professional trades person, like an electrician to help
you cut the holes in your plasterboard.
Step 3
Once you are satisfied with the positions cut the holes for each of your wall plates.
Step 4
Next, begin by installing your cable. It should be installed point to point. With one room being the hub containing the starting port for data points in the house, this is also where your router equipment would be placed.
Step 5
Terminate the cable at the rear of each wall plate.
Before you fix your wall plates test they are functional by one of these methods:
Re-terminate any poor connections.
Step 6
Once each data point is fine, install all your wall plates. Your installation is complete. Connect your equipment to the wall plates using the CAT6 fly leads you have purchased. It should be known that stranded core CAT 6 cable is used for fly leads, as opposed to solid core, as used for the hardwiring.
Leave a comment
All comments are moderated before being published.
This site is protected by hCaptcha and the hCaptcha Privacy Policy and Terms of Service apply.